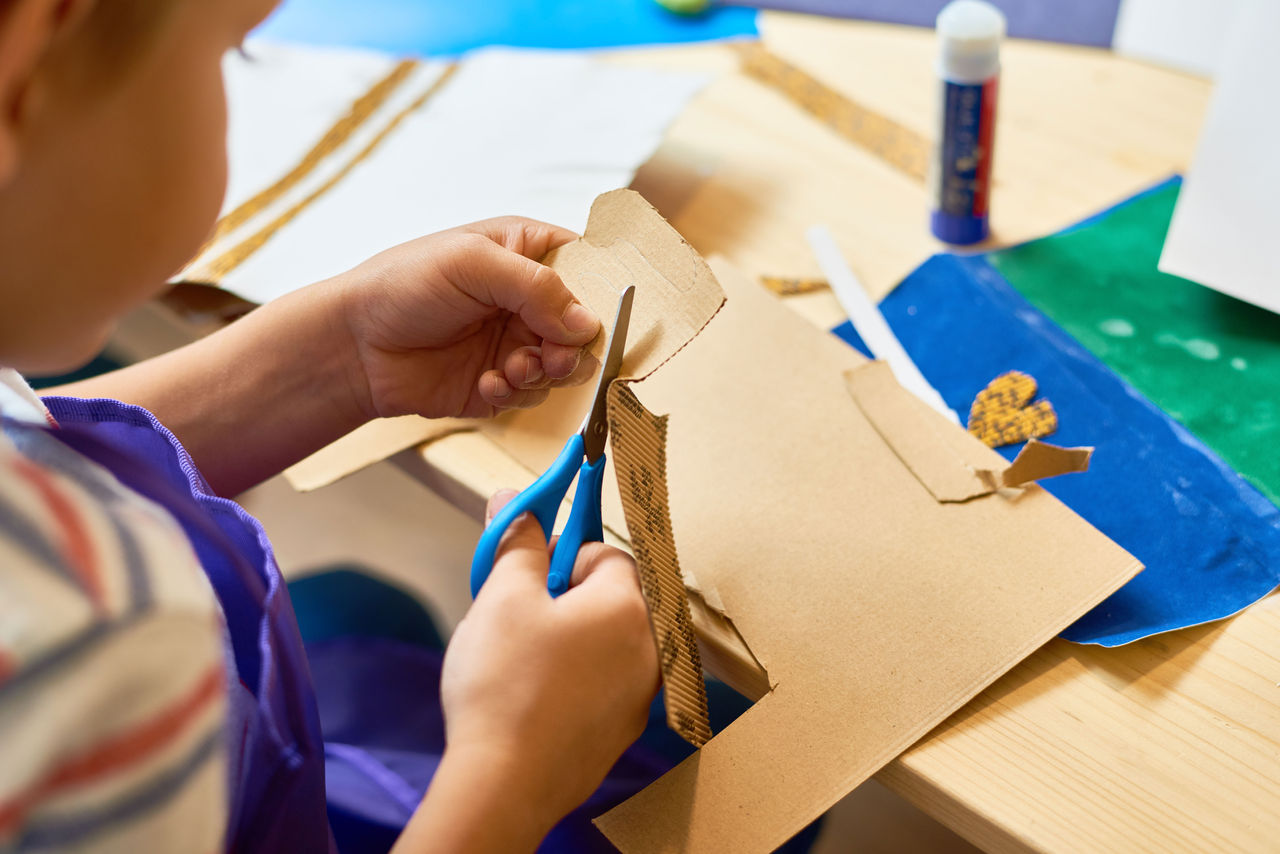
Create this cute pencil picture frame and add a photo of your child’s favorite memory at school!*
Materials
- Twelve new yellow pencils (unsharpened)
- Two pieces of cardboard that are approximately 8 ½” x 11” (cardboard from a cereal box works well)
- Craft glue
- Craft knife (for adults to use)
- Tape
- Ribbon
Directions
Step 1: Place a piece of cardboard on the table and arrange the pencils in the shape of a frame. Do not use glue yet. We used three pencils per side, but you can use more or fewer.
Step 2: Once you have all the pencils arranged, run a thin bead of craft glue along the pencils and glue them into place one by one.
Step 3: Once the glue is dry, cut off any excess cardboard with the craft knife.
Step 4: Cut your child’s school photo to fit inside the frame. Glue it into place, or use the craft knife to cut out the cardboard from the center of the frame and tape the photo to the back of the frame. If you cut out the center, we recommend gluing or taping an additional piece of cardboard to the back of the frame for stability after you add the picture.
Step 5: Cut a piece of ribbon, and attach it to the back of the frame with tape or glue so you can hang the framed picture. You can also add the ribbon before you add the second piece of cardboard for a clean look.
*An adult should oversee all activities. Activities may not be appropriate for all ages.


